Are you toying with the idea of creating an air dry clay project? Whether you’ve got your eye on a décor idea or just want to have some fun, knowing which tools to use can really come in handy. In this quick guide we’ll walk you through some common air dry clay tools, including a few you can find around the house!
1. Dividers

Using dividers is a quick and easy way to transfer measurements from one thing to another. For example, you might use them to transfer proportions from a drawing to your sculpture without using a ruler.
2. Banding wheel

Moving a wet sculpture can be pretty nerve-racking, especially when you need to do it multiple times during a session. A banding wheel allows you to turn your sculpture so that you can work on different sides and see it from different angles. It’s great for sculpting as well as painting your creations once they’re done.
3. Wire clay cutter

When you’re dividing a block of clay, a wire clay cutter will be your best friend. All you need to do is drag the wire through the clay and it will cut through like a dream.
4. Flat taklon paint brush
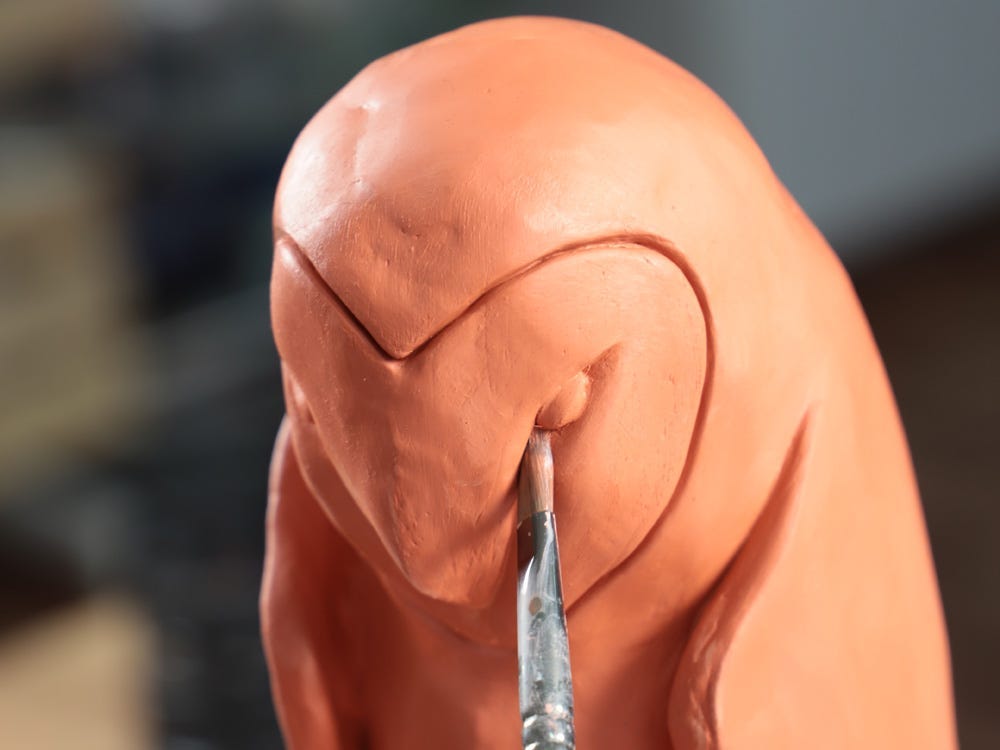
You might use a paint brush more than you think when you’re working with air dry clay. The end of the handle is great for softening edges and creating smooth hollowed out areas. Plus, flip it around and you can use the brush with a touch of water to remove rough marks.
5. Spray Bottle
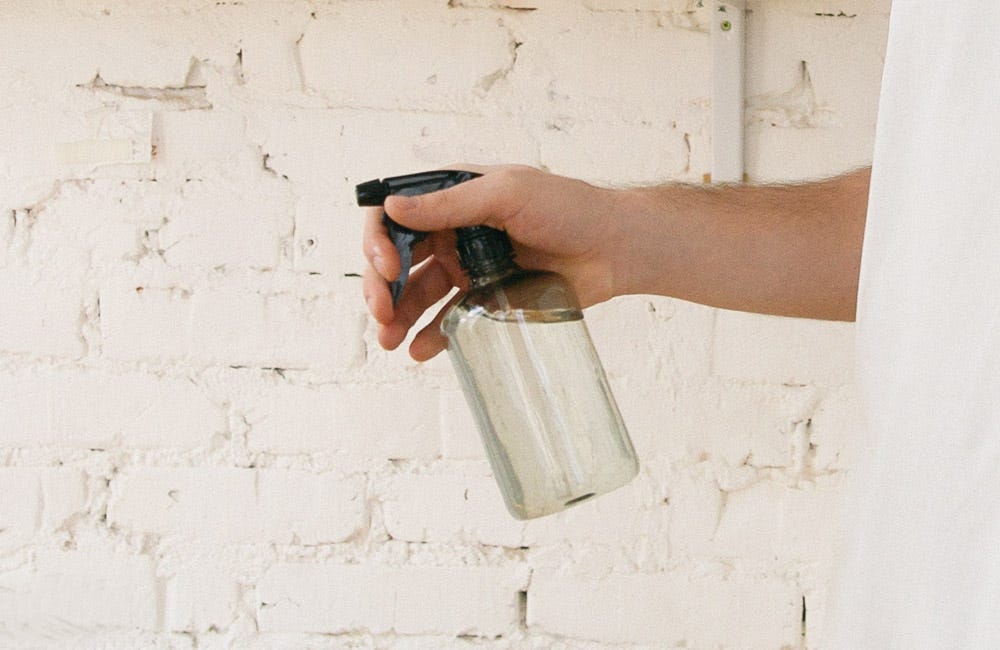
If you’ve ever worked with air dry clay you’ll know it dries quickly. Don’t worry, there’s a simple solution for this. Keep a spray bottle at the ready and give your project a spritz if it starts to dry. This will keep it nice and workable so that you don’t have to rush.
6. Pottery Sponge

Need a softer touch to remove rough marks? Gently running a damp sponge over the surface of your project will give it a nice smooth finish. This is particularly helpful for larger areas that don’t have a lot of detail.
7. Tea Towel
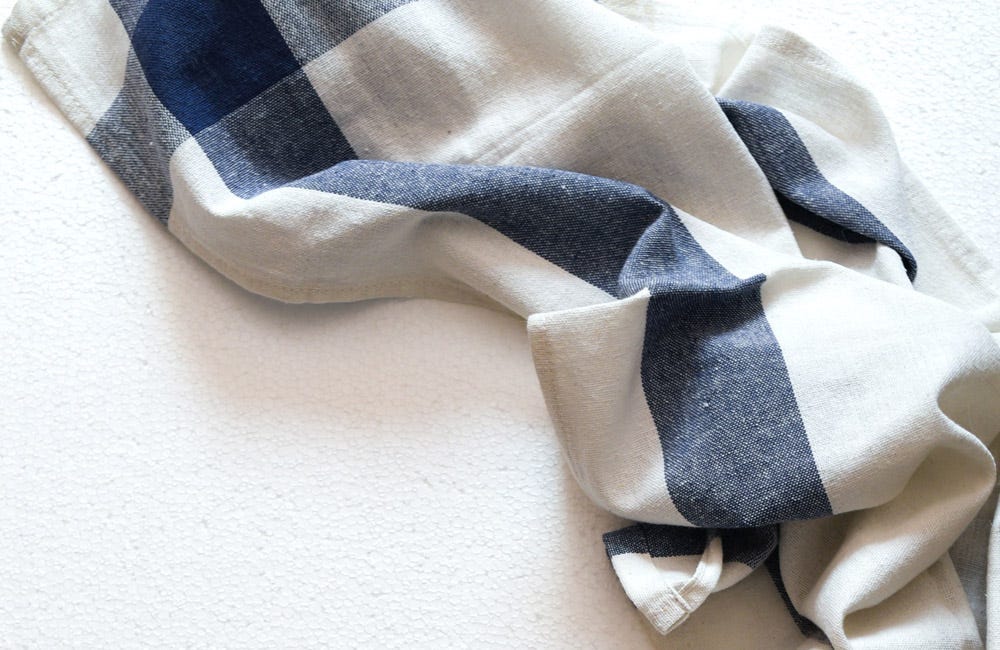
A damp tea towel works a treat for keeping your air dry clay workable between sessions. Simply give it a spray with water, wrap it around your project and use some cling film over the top to trap the moisture in.
8. Cling Film
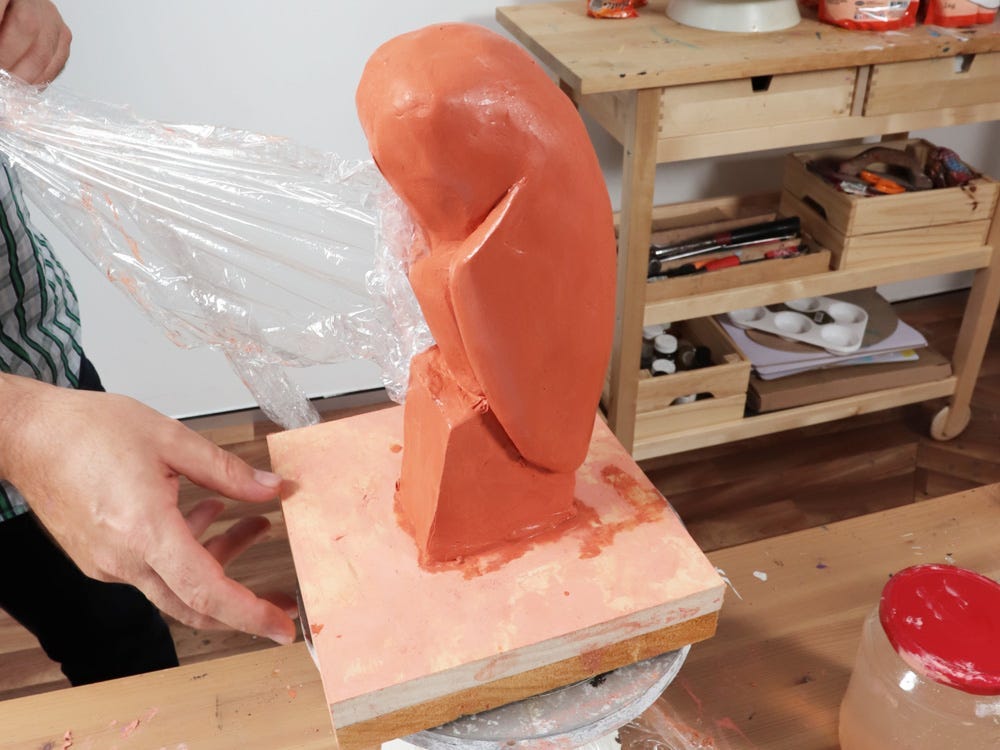
While we’re on the topic, cling film is a necessity for projects that take more than one session. We’ve found that if you make it airtight, you can keep your clay damp for up to 5 days.
9. Scissors

Yes, you heard that right. We’ve used scissors in a lot of our projects to trim clay because they’re quick and leave nice, clean edges.
10. Texturisers
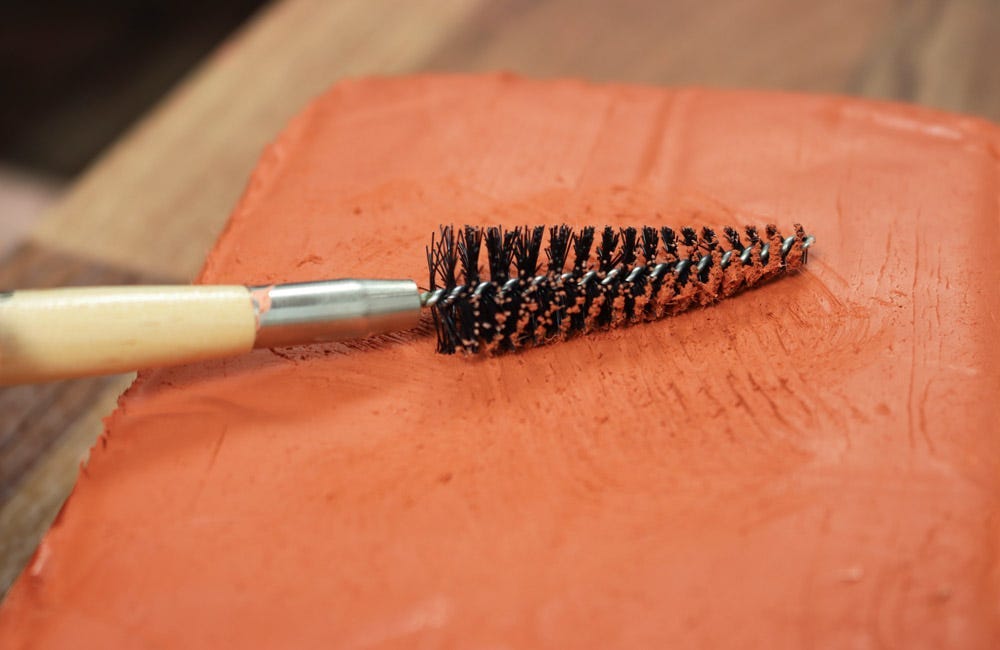
If you need to create effects such as feathers, hair or fur, a texturiser is a great place to start. You might even like to experiment and use household items such as a toothbrush, lace or comb for similar effects.
11. Loop/ribbon tools

These tools come in loads of different shapes and sizes. They’re popular for hand-building projects because you can use them to cleanly remove and hollow out clay or trim edges.
12. Wooden modelling tools
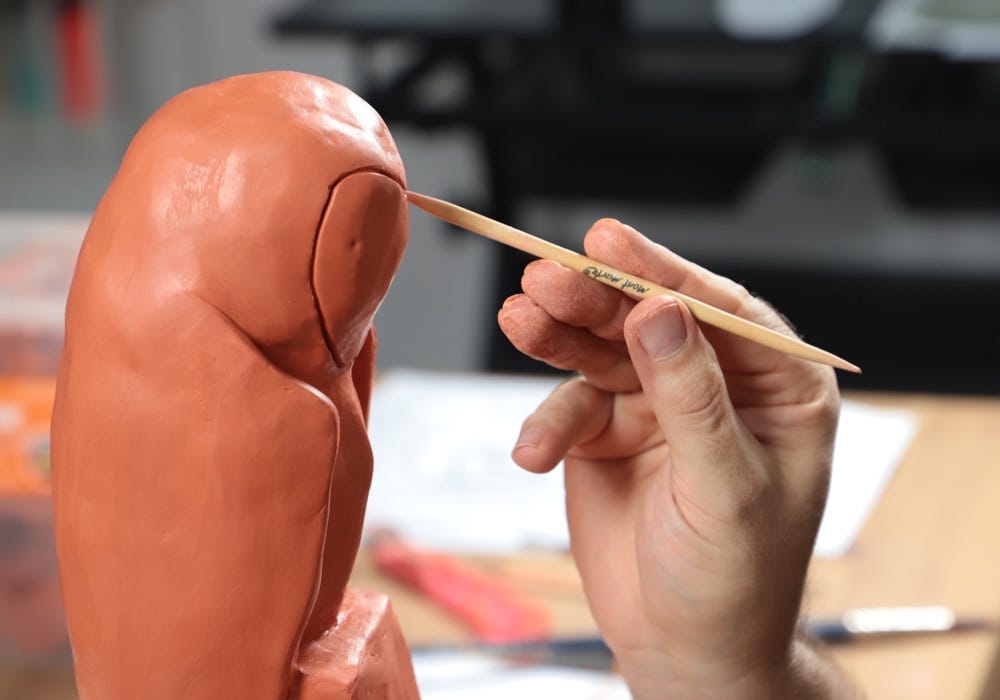
Wooden modelling tools often come in sets with a range of ends for smoothing, cutting and decorating clay. Like ribbon tools, these are popular for hand-building projects because of their versatility.
13. Sculpting needles

When it comes to super detailed areas, sculpting needles are a great go-to. You might also like to use them to trim edges or put holes in beads made from polymer or air dry clay.
14. Scrapers
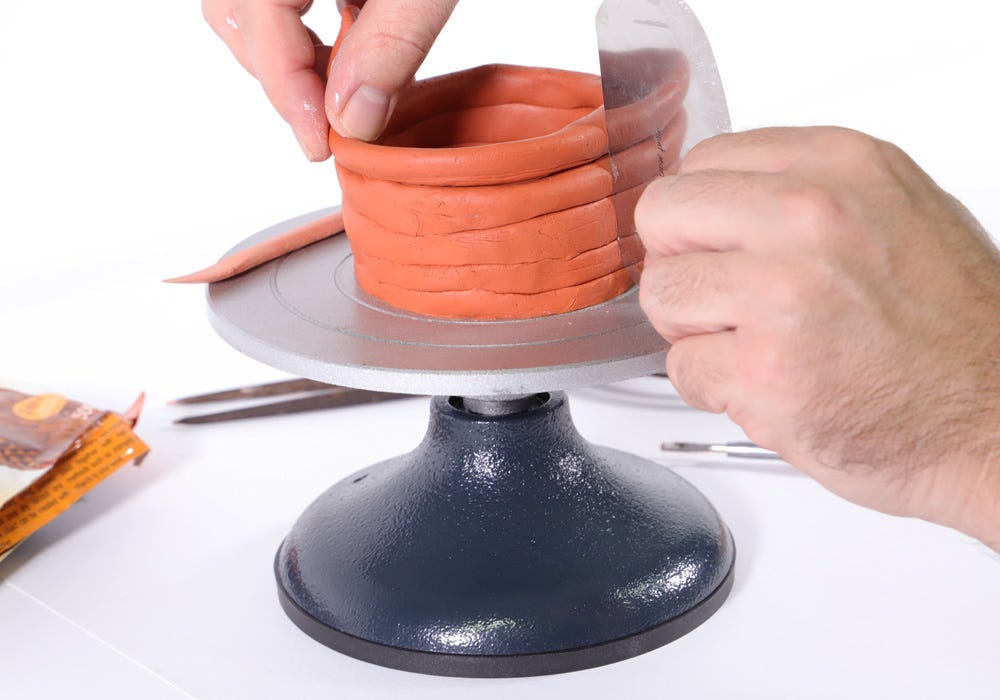
If you’re planning on making pots, a scraper will help you shape and smooth the edges. Simply apply gentle pressure as you turn the pot and work your way around. It’s a great tool to have on hand when you’re creating a pot using the coil method (like the image above).
15. Hobby knife

A hobby knife is going to make life a lot easier when you need to make clean or intricate cuts. We recently used this approach for an air dry clay lantern project and it worked a treat.
Now that you’ve got the low-down on some common sculpting tools, we hope you’re ready to dive in and get started..


